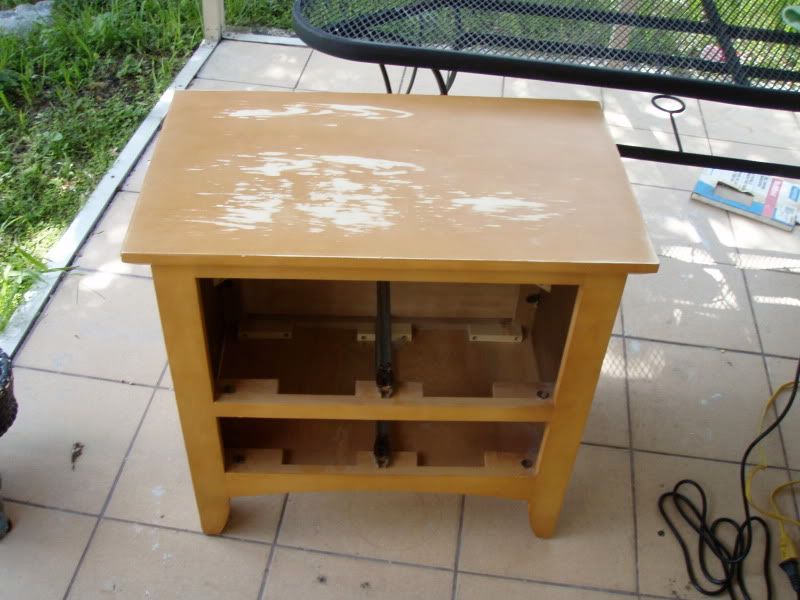
We've had our bedroom set for over 8 years and its starting to show some wear and tear. I have to admit we should not leave our cups on the nightstands since they drip and will wet the wood, but where do you put a cup when its super late and always forget the coaster???? Well it happened... the 'wood' eventually started to chip.
So we sanded the everything down, primed and painted.
Step 1 - Gather all your supplies:
- Sander With 60 grit sand paper
- Wood Filler (if you are replacing your hardware with something that won’t fit the existing holes)
- Primer (Water-Based)
- Paint (Either Semi-gloss or full Gloss)
- Foam Brush and Foam Roller, or a good brush for no stroke mark

Step 2 - Remove the drawers and knobs
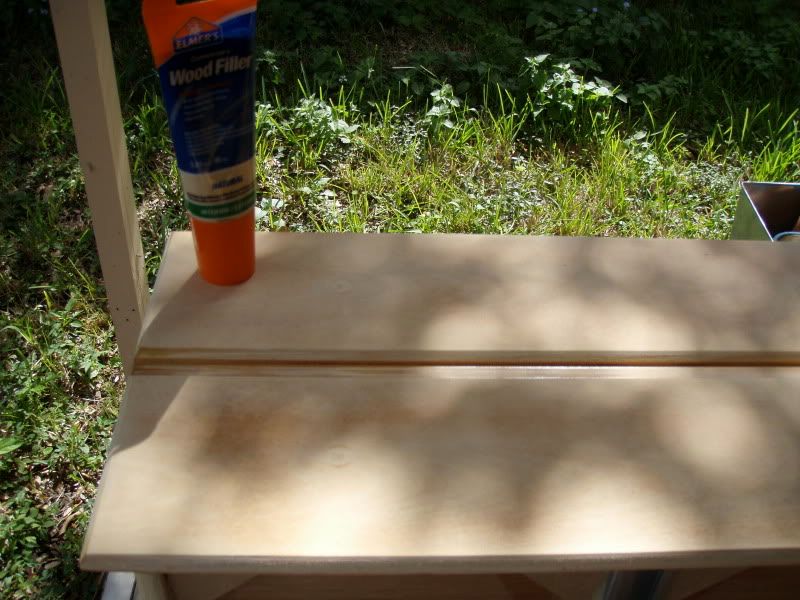
Step 3 - Fill in all your old knob holes with Wood Filler
(only if you are are replacing your knobs with another
knob that does not fit the current hole)
Step 4 - Start sanding!
Your main concern is to sand down the top glossy coat aka polyurethane.
This is a headache but it pays off in the long run, paint will absorb a lot better.
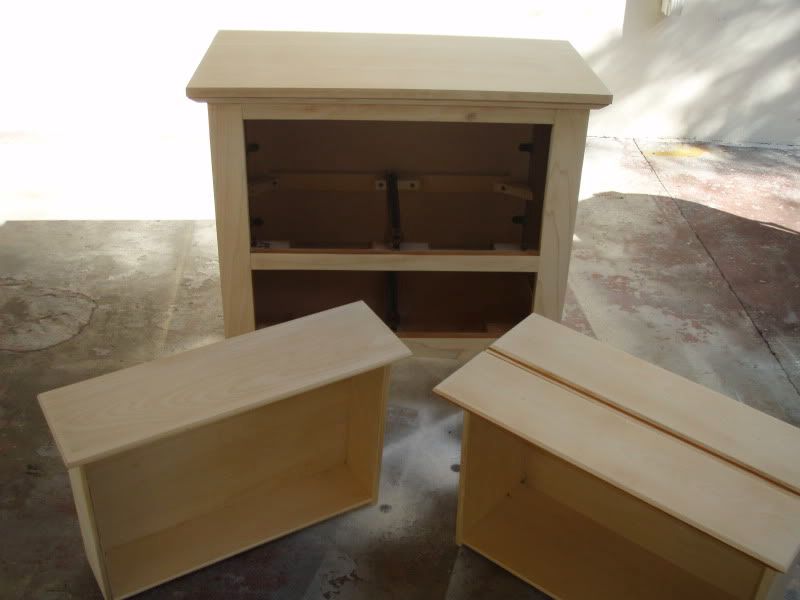
Here is the nightstand all sanded down and wiped clean
Step 5 - Prime
Paint one coat of primer and wait
at least a hour.
This will help your paint last much longer and help it from chipping.
It might look sloppy after primer but its ok it will even out nicely once you finish your last coat of paint.
Step 6 - Paint
2-3 VERY thin coats of the final paint color with either a high quality wool or polyester roller. Each coat should be very thin so that it dries faster and your paint will last longer. I have noticed if you paint on thick coat it will not dry, the surface stays sticky and will dent with any hit.
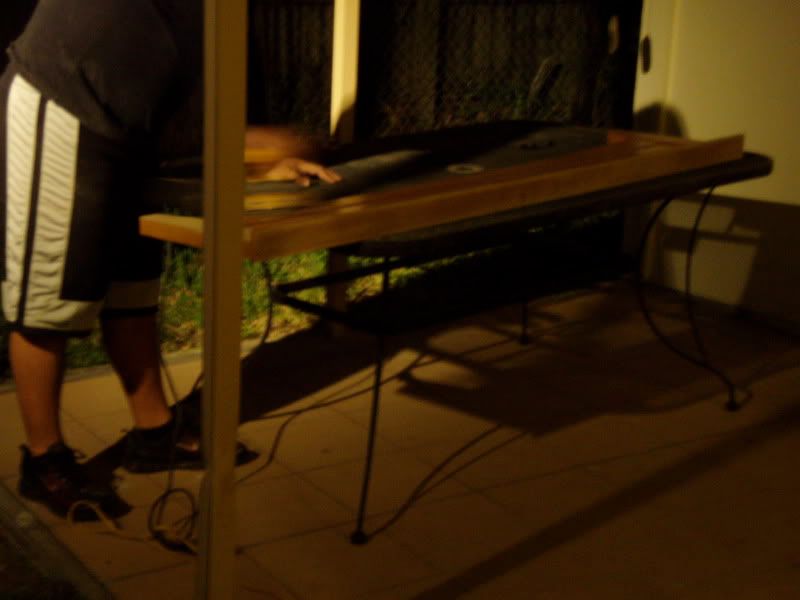
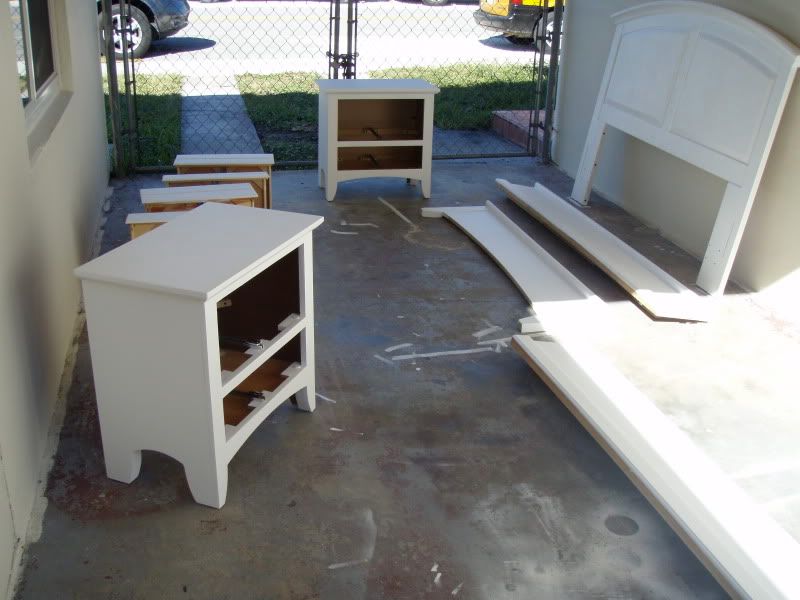
Our Painting station
These are the knobs that I just purchased for the nightstands

Hope this pictures can help you out!


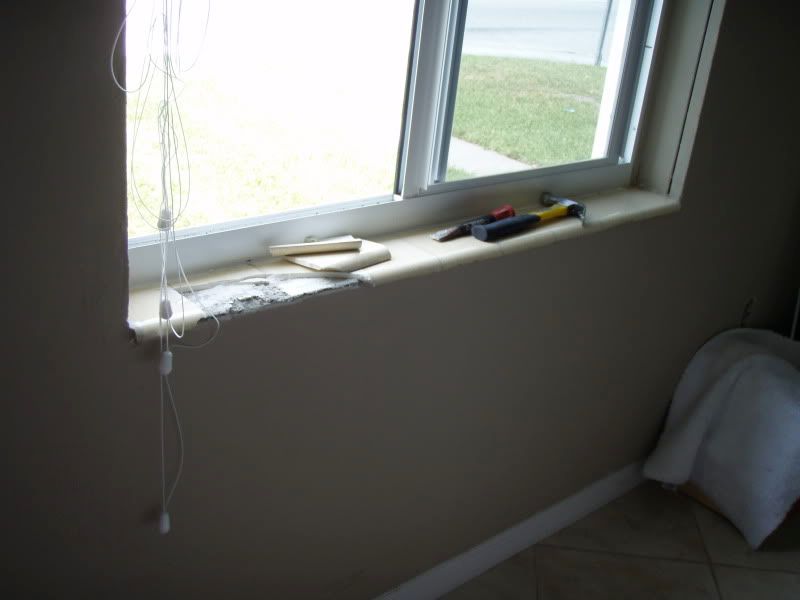
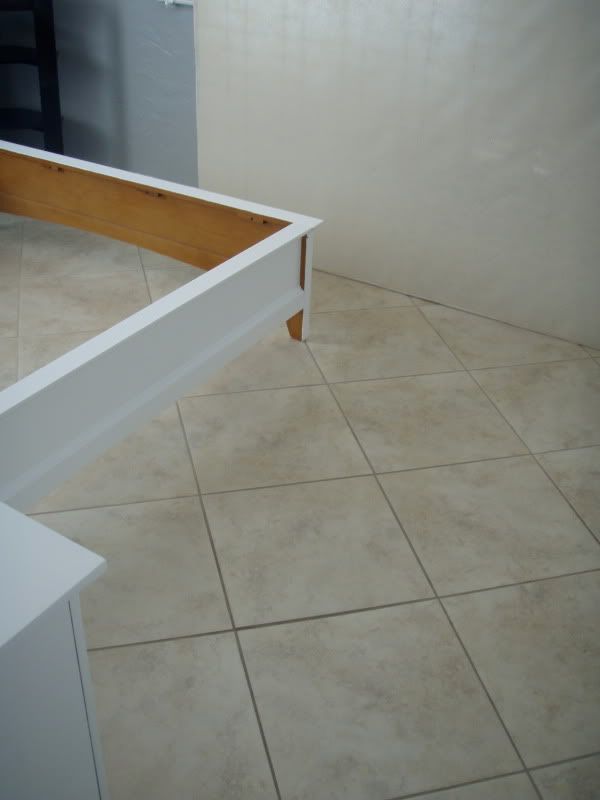 Here is a close up... What were we thinking??
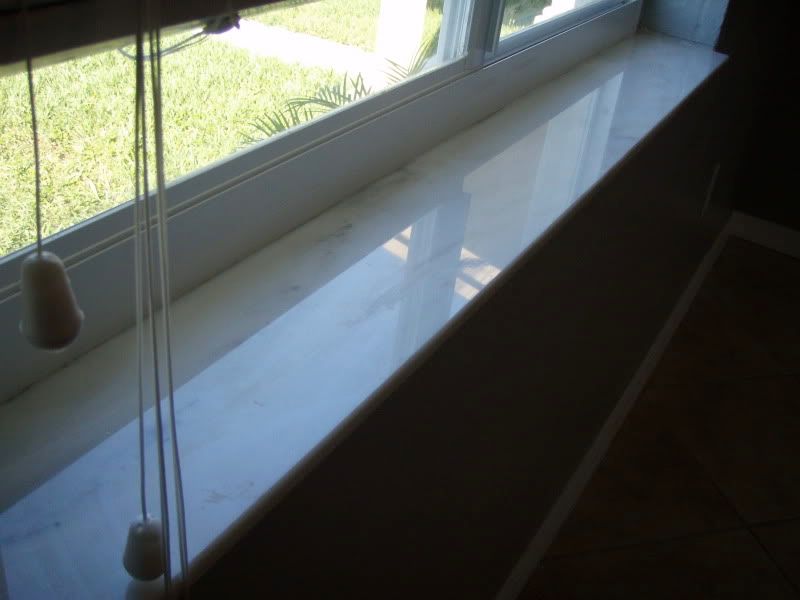
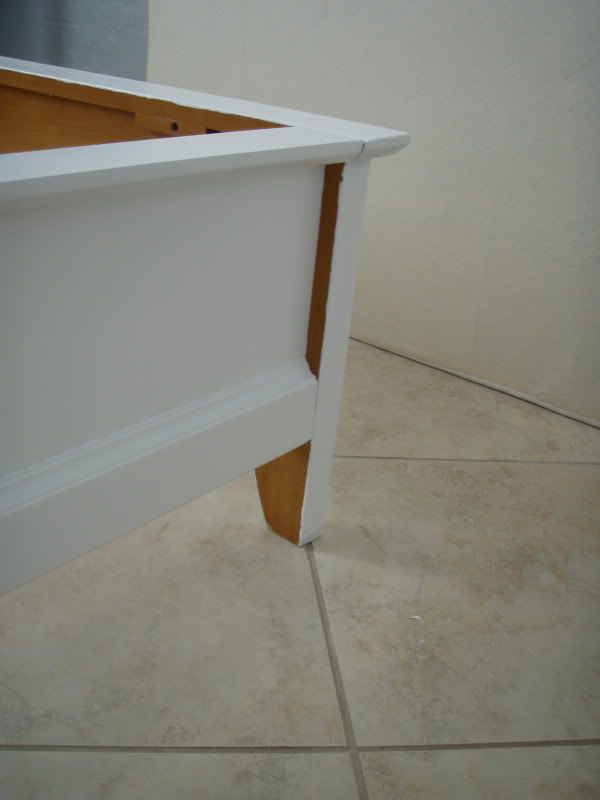 And here is the front.. the only part that we 'thought' needed to be painted.
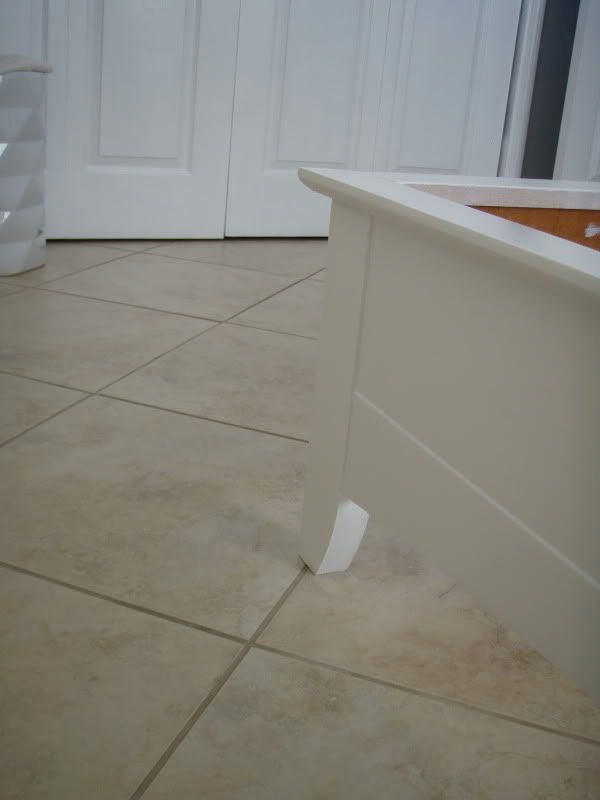 Ugh... the lovely world of house projects.