
Since we were on a really tight budget for our wedding I tried my best to keep things on the minimal or did it ourselves (just like everything else in our life). That meant from our Monogram, Save the Dates, Invitations, Favors, Decor Pieces, Card Box, Table Numbers, Aisle Runner, Sand Ceremony Vases, Ceremony Fans, Thank You Parasol and much more!
Lets start off with Our Monogram. I created a few different versions in Photoshop, but after we had to change our venue 3 months before our wedding date this was the final version that I fell in love with 
I created our Aisle Runner first, prior to the change of venue so it had our original Monogram (we were going to get married in front of a light house on the beach, so I wanted something more casual). We were really really short on time for me to do it all over again so unfortunately we kept the original one and had tons of white rose pedals on it. Robert traced the stencil for me and I painted all the details... with a few glasses of wine of course.


We purchased wicker fans from Oriental Trading on Ebay and placed one on each chair in the Ceremony with our favor tag for the guest, just in case it was warm.
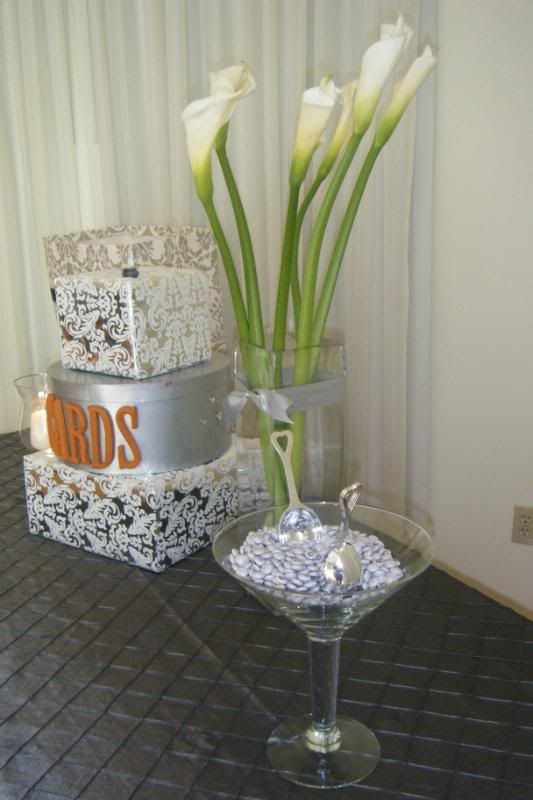
Our Card Box (made out of 2 packaging boxes and a hat box from Micheals)


Since we were having an outdoor ceremony the unity candle was not going to work. Can you imagine the candle that you are lighting as a couple to begin your new lives together blows off??? What a great way to start our marriage, huh? So I researched and I loved the Sand Ceremony idea. I found these vases in Pier 1 in clearance rack for $6, and knew that they would work! There were a little bit plain so I got to work on them, I spray painted them silver and added some bling to match our toasting flutes.


Our Toasting Flutes are from ZGallerie (Thanks to my amazing Mother in Law), and the finished vase


Our Favors... I wanted something that our guest can take home to enjoy or something edible. The first favor I found was at Micheal's which was an adorable white vanilla scented candle in the $1 rack... CHA-CHING!!! So you better believe that I bought all the candles they had and had to go to another Micheal's to purchase 20 more. All the favors I found on online that was candle related it was no less that $3/each one. So we put them in a silver organza bag that I bought at a wholesale distributor, made a bow with left over silver ribbon, glued a little diamond in the center and hung our Thank You Tags.


The Second favor was a 2x2 Clear box with a silver ribbon and our Thank You Sticker filled with Personalized M&M's. These were such a hit! On one side there was a picture of us and then on another side it sound our names and wedding date.


Since we had extra M&M's, we placed over sized Martini Glasses through out our Cocktail Hour and reception for the guest to enjoy
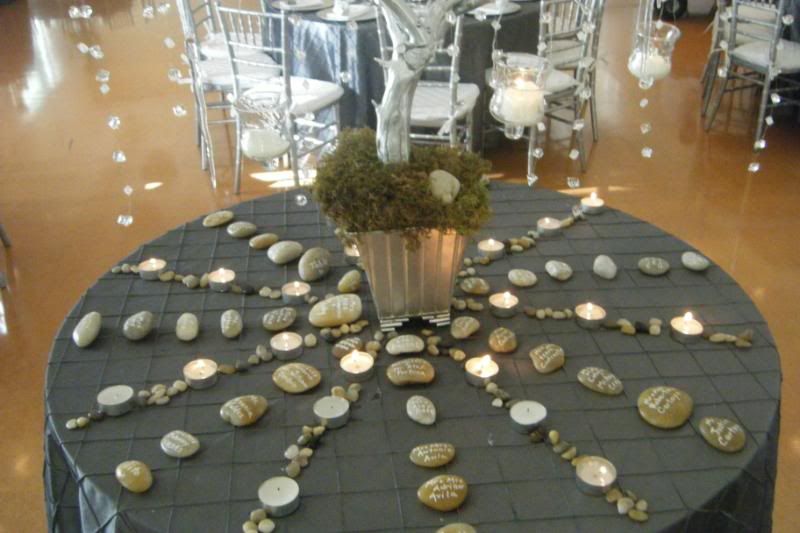
Next up is our Place Card Table.... and of course I did not want your typical escort card with the guests name and table number on it that normally ends up either on the floor (meanwhile they are not cheap or easy to print out) or tossed around the table after the guest found their table. So I researched and researched and found the Escort Rocks Idea and fell in LOVE. I bought at Micheal's (with my almighty 50% off coupon of course) bags of River Rocks and picked out the rocks that we could use, large, smooth and pretty :)
Another thing that I really wanted to incorporate somewhere in our wedding was a Manzanita tree, but there were too expensive for center pieces for each table, so why not our Card Table?!?!!? I bought three branches on save-on-crafts and after a few failed attempts of putting it together my Handy Man father was able to help me built it in less than an hour!
Here are the three branches after they were painted, Screwed together and then waiting for concrete to dry


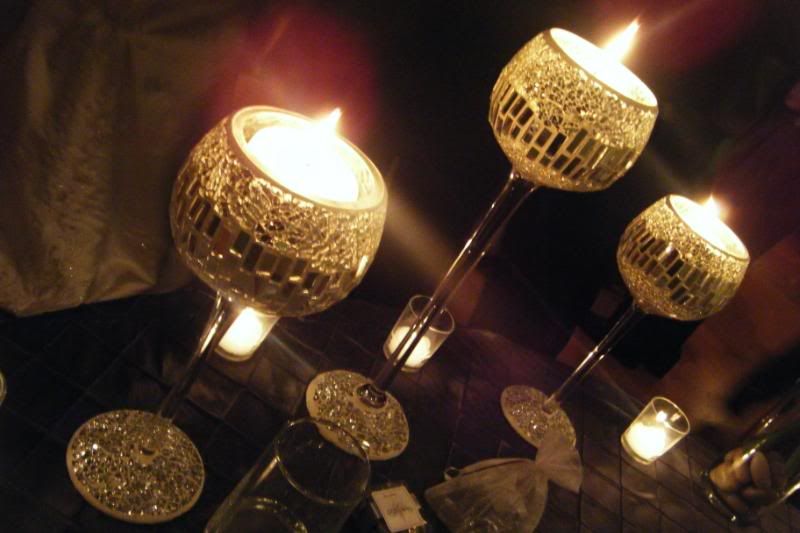
The hanging candles were too large for my tree or out of budget, so I bought these candle holders at Micheal's for a $1/each and made my own hanging candle with Floral Wire


Final Product

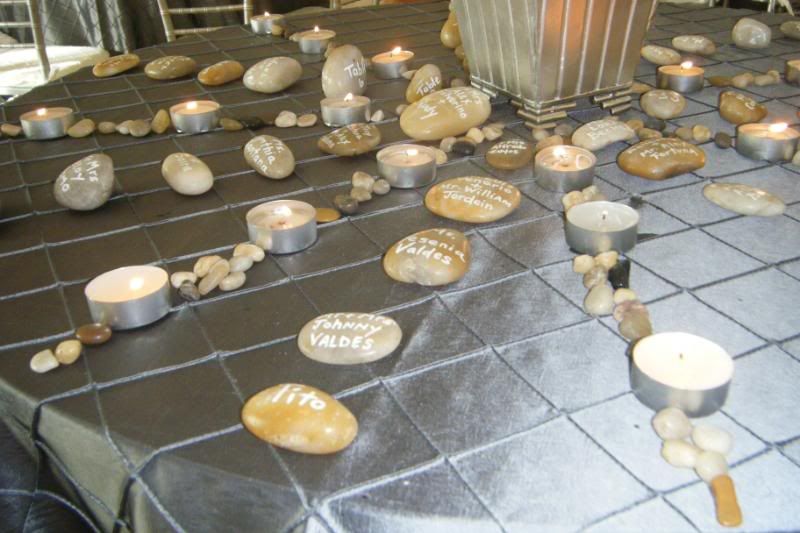
'Escort Rocks'
Can you believe that some guests still have their rock displayed somewhere in the home??? How cute is that?
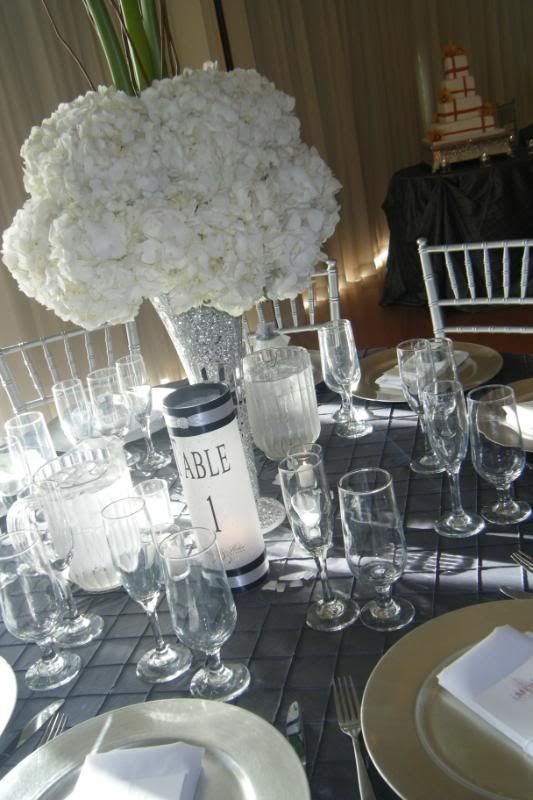
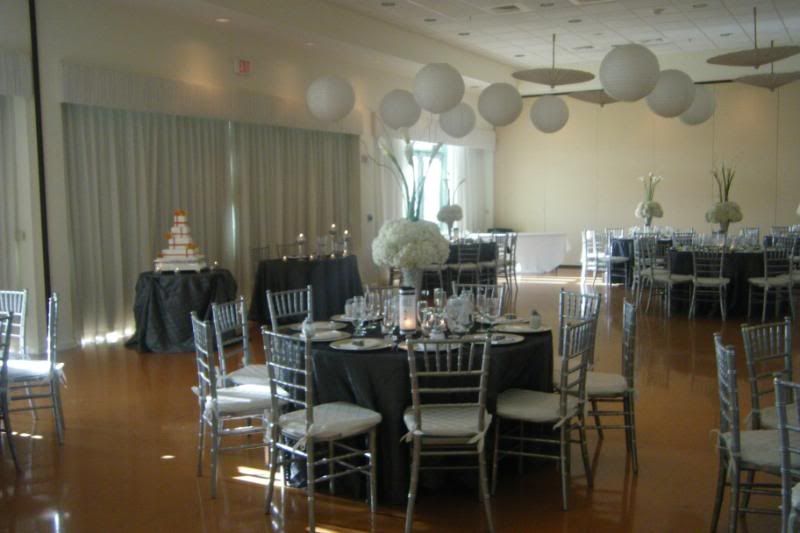
One thing that I wanted was our guest to be able to take home the center piece of their table. I went to a few different wholesale distributors and different florist to buy glass vases, but there were either too expensive OR too plain. That is until I went to my favorite store Micheal's around Christmas Time and saw these beauties....


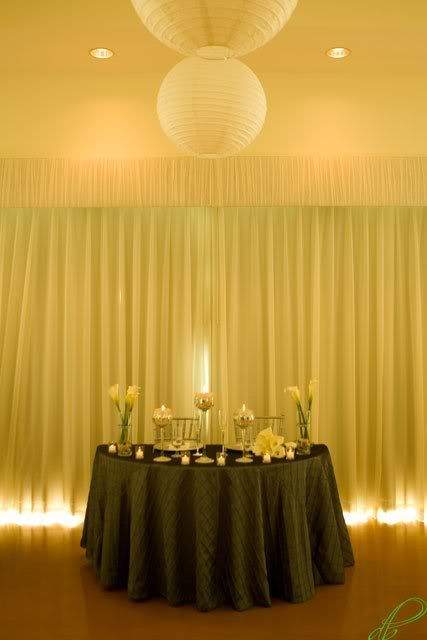
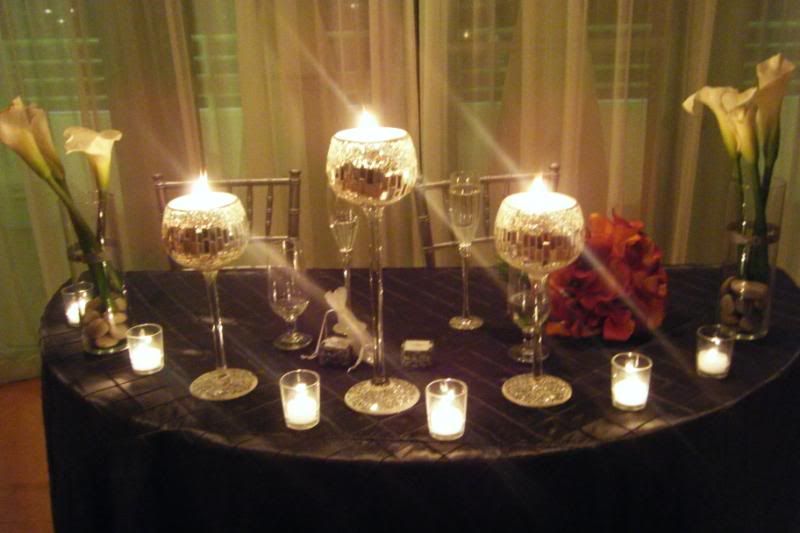
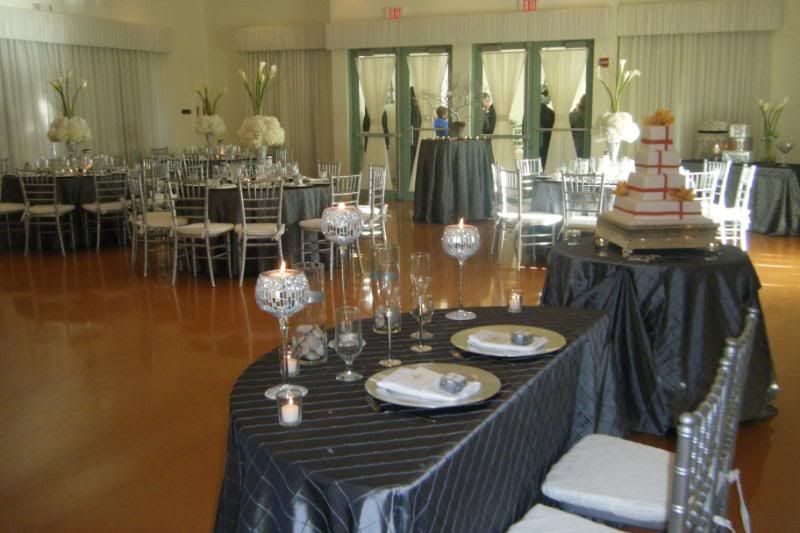
The Tall Cone vases were for each table, the small round ones were scatter through out the room and the the three tall candles were for our head table (I did not want our head table full of flowers).

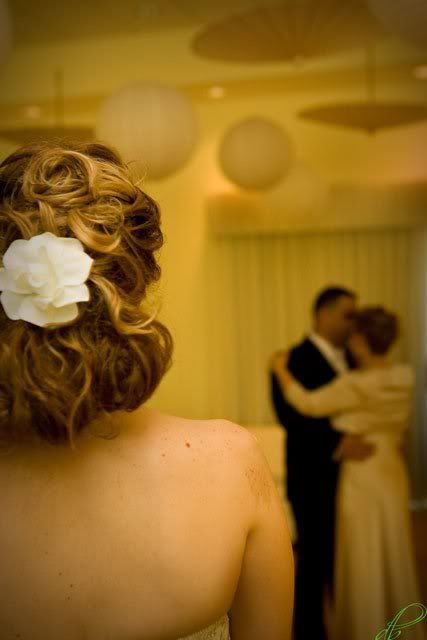
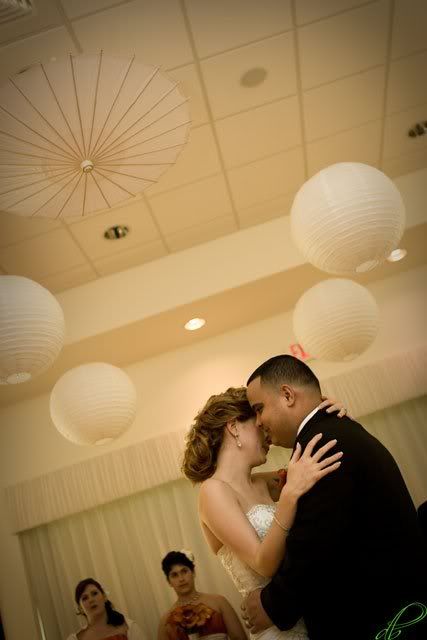
My next mission was how to decorate the room/ceiling so that it would not look so empty? Up lighting was around $25/each and we would need at-least 12, so we scratched that idea out. And the sun was still out as well since we had the ocean and bay around the reception, so we did not want to hide that gorgeous feature (this is what sold us on choosing this location). Then I found the White Parasol on Ebay and I fell in love with them. Either way I wanted to hang large white paper balls on the ceiling to give it some dimension
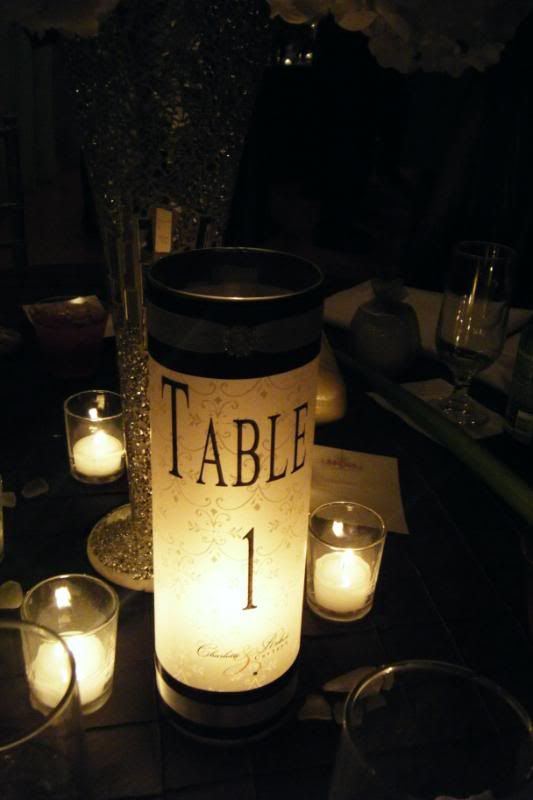
Our Table Numbers - Printed the table number with our Monogram on Vellum paper and hot glued it to a cylinder vase from Micheal's and Matched the ribbon with a diamond Brochette from the invitations
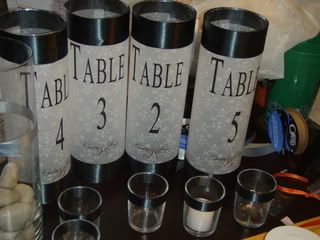
Extra cylinders - made for my Made of Honor and my Bouquet (Which ended up at our head table)

Here is a picture of the room before and after

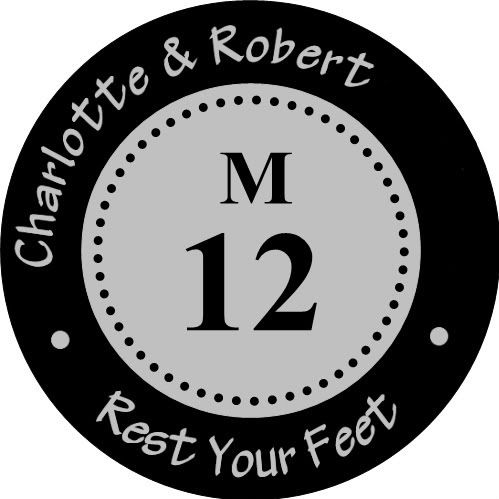
At the reception once the dancing began we had a basket full of Grey and White sandals from Old navy with this sticker, that included our last name and the size of the sandal
For the Thank You cards we wanted to personalize them and include a picture that our family can keep for keepsake. I painted 'Thank You' on a left over Parasol and could not be happier with the finished product.


I think that wraps up our DIY items from our wedding, I am missing a few things but can not find photos for them but once I do I will post.
Feel free to ask me any questions or how I did anything, I would love to help,

WOW! You did a fabulous job! Everything looked so beautiful :)
ReplyDelete